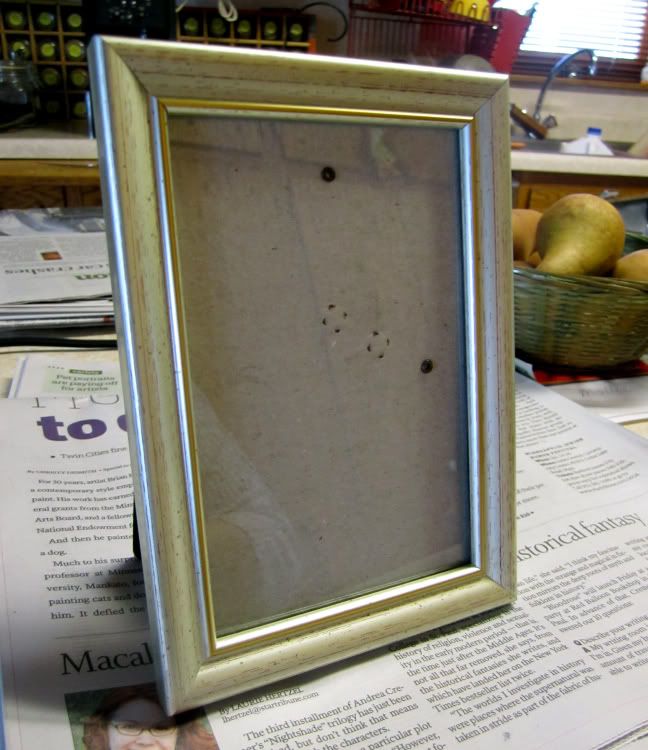
Start with your photo frame. Wipe it clean and take it apart. In this example, I bought a cheap frame from the dollar store. Don't do this! The glass did not come out, which made the process slightly more messy, but since all the glues were water-based, they were easy to clean off the glass.
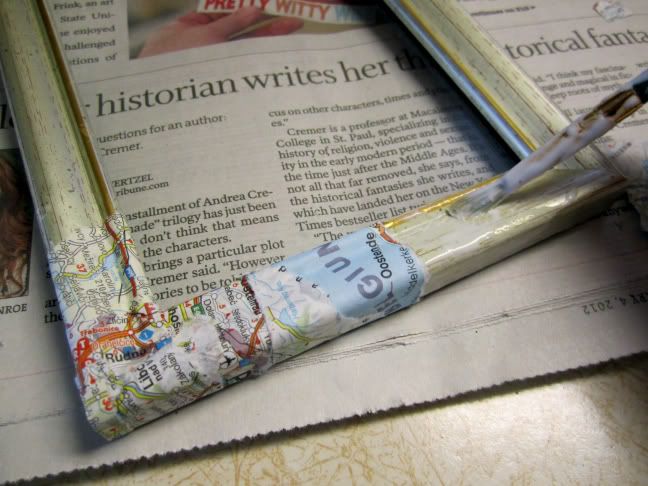
I used tacky glue and painted it onto the frame, laying the paper down as I went along. I left torn edges on purpose, but you can always cut the edges straight if you'd prefer.
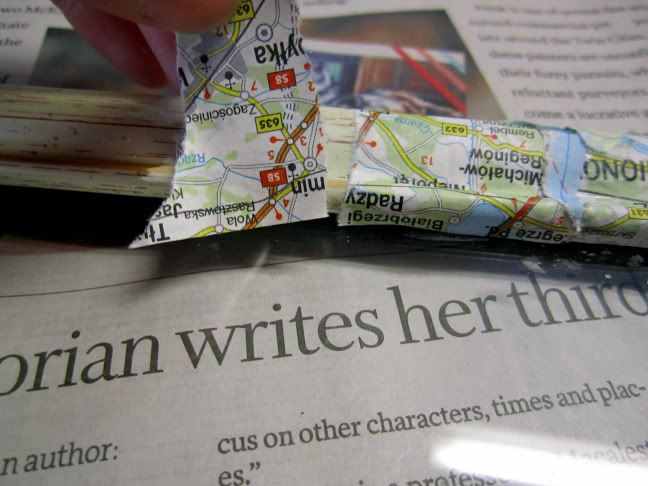
I did, however, cut one straight edge and align it with the glass of the frame. Even if you didn't go cheap and bought an actual frame from a reputable source (aka not the dollar store), I would still align a straight edge. Too much bulk folded over the edge might mean that the glass won't fit back into the frame.
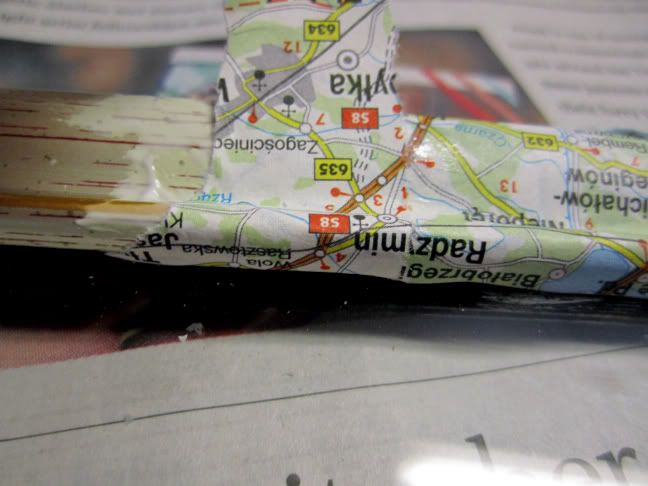
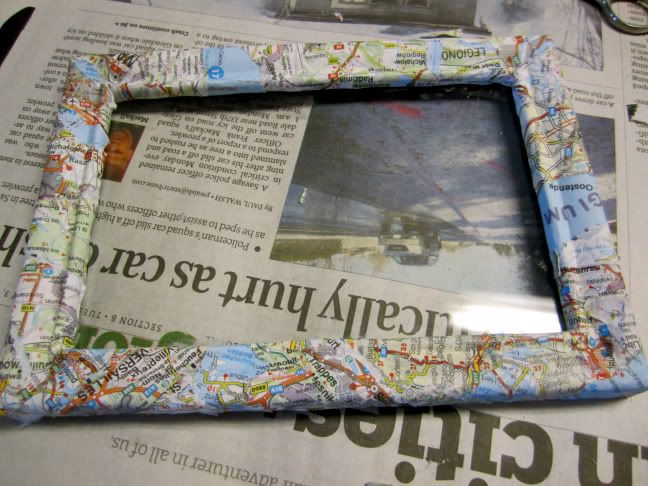
I covered the whole entire frame with map pieces, now comes the decoupage!
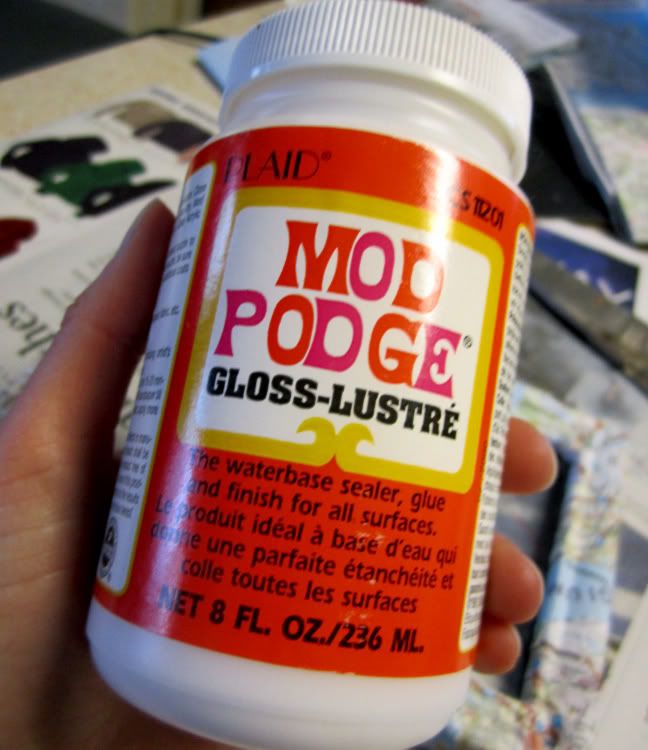
I was using Mod Podge for this. I haven't tried any other brands of decoupage, but this is really great. You can also use puzzle glue or any type of glue which will dry clear. Even tacky glue is fine, but decoupage glue will probably yield best results.
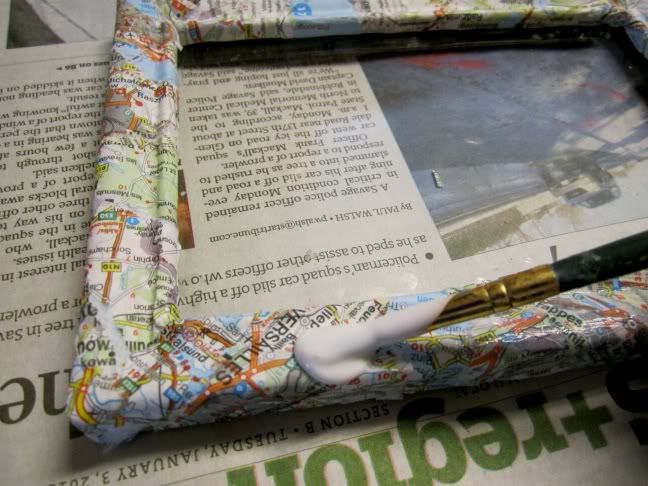
Paint the decoupage on in an even layer, smoothing down any pieces of the paper that might've come up. Let it dry and do another layer. After all is dry, clean the glass and pop everything back into place!
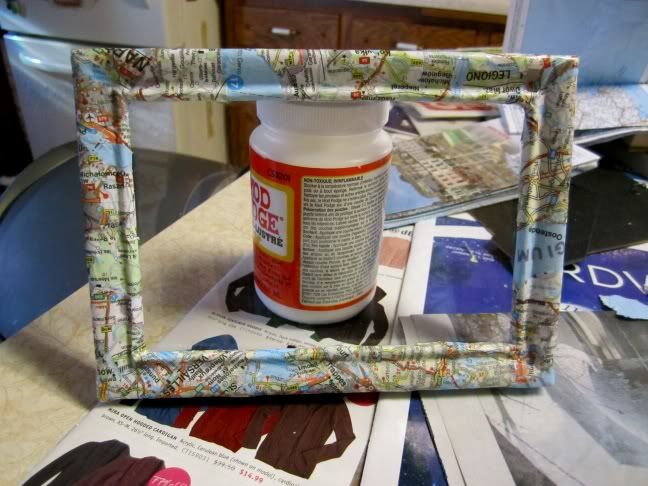
Here was my finished piece, which I gave as a present to my best friend! I'll definitely be decoupaging more frames, but I do not recommend skimping and buying dollar store frames.


5 comments:
Excellent. Must try this when I get the time!
Definitely gonna try this! Love,
http://rediculousredhead.blogspot.com
Please come follow my blog!
This looks awesome! Such a cute DIY project.
Great turotial! I'm just about to make something similar for myself and it was great seeing a step by step guide to doing it!
I cannot see any of the pictures ): or is it just me?
Post a Comment